Submit files
You can submit files for investigation by Sophos. Submitted files are added to your support case.
You must create a case before you can submit files for it. See Create a Technical support case and Create a Customer/Partner care case.
For information on how to view or download files that you submitted, see View or download files.
Note the following:
- You can't submit files for a case with status Closed.
- When you submit files for a case with status Open, the status changes to Sophos Investigating.
- When you submit files for a case with status New, the status remains as New.
Prepare files
In the following cases, you must compress your files to a ZIP file before uploading them to the Sophos Support Portal:
- You want to upload multiple files.
- The file is larger than 100 GB.
- The file has no extension or no allowed extension.
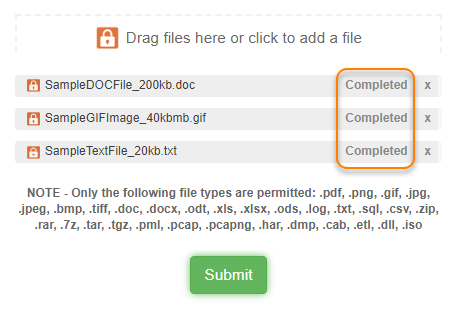
We allow the following file extensions: .7z, .bmp, .cab, .csv, .dll, .dmp, .doc, .docx, .etl, .gif, .har, .iso, .jpeg, .jpg, .log, .ods, .odt, .pcap, .pcapng, .pdf, .pml, .png, .rar, .sql, .tar, .tgz, .tiff, .txt, .xls, .xlsx, .zip.
For security reasons, the list of allowed extensions doesn't include program files, such as .exe or .msi files. Always compress these files to a ZIP file before uploading them.
Upload files
Restriction
You must be both the uploader and the case contact to view or download a file later.
To upload a file to the Sophos Support Portal, do as follows:
- Go to Sophos Support and sign in if you aren't already signed in.
- Click Cases.
- Find the case number for the case you want to add files to and click it. This opens the case.
-
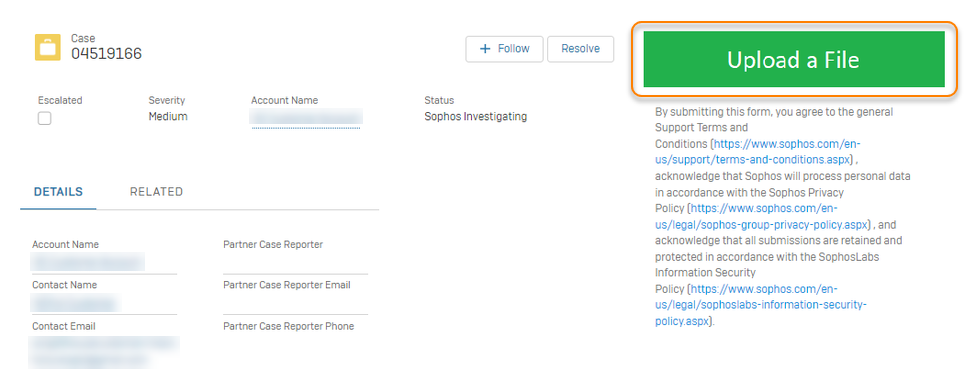
Click Upload a File.
-
If this is the first time you've uploaded a file, a dialog to verify your email address opens in a new browser tab.
If we've already verified your email address, go to step 12.
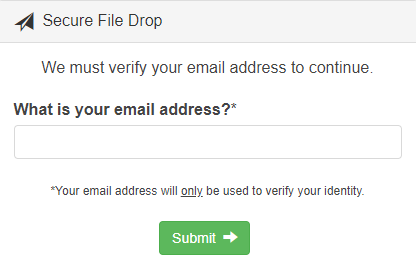
-
Enter your Sophos Support Portal email address and click Submit.
You might also have to complete a CAPTCHA.
-
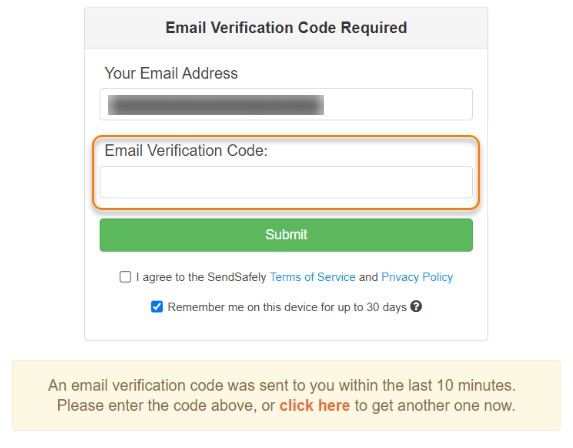
We'll send you an email with a verification code. Copy the code from the email.
-
In the Sophos Support Portal, go back to the page for your case and paste the verification code in the Email Verification Code field.
-
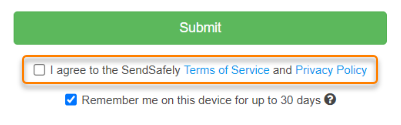
Select the checkbox to agree to the SendSafely Terms of Service and Privacy Policy.
Make sure to click the links and read the documents before selecting the checkbox.
-
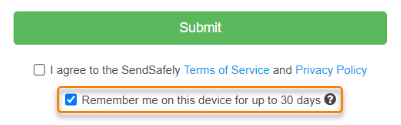
Optional: Select the checkbox so that we'll remember you on the current device for 30 days.
We recommend you clear the checkbox if you upload the file from a public or shared device.
-
Click Submit.

-
A Secure File Drop dialog opens in a new browser tab.
In that dialog, use one of the following methods to select the file to upload:
- Drag the file onto the drop area.
- Click in the drop area and select the file via a dialog.

Note
You can't edit the case number or email address in the Secure File Drop dialog. To upload a file for another case or user, sign in as that user and repeat this procedure for the other case.
-
Wait until the file is completely loaded. Then click Submit.
-
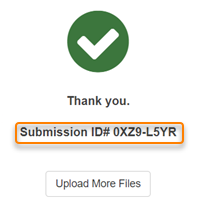
When you see a Thank you message, the file has been successfully submitted and added to your case.
Sophos Support will refer to your file submission as a package. The package ID is shown as Submission ID under the Thank you message.
-
If required, click Upload More Files and repeat the previous steps to upload another file.
-
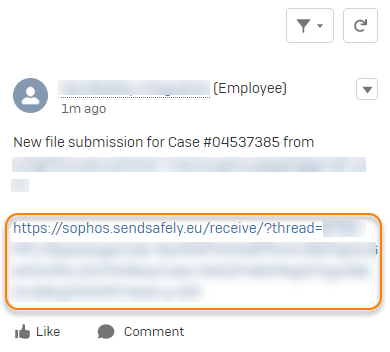
When you've uploaded all files, go back to the page for your case and refresh it. The page now shows a SendSafely notification with a link to the files.
You only see this notification if your email matches the Case Contact email of the case.