Create an L2TP remote access connection
You want to create a remote access L2TP connection.
Introduction
To create the L2TP connection, do as follows:
- Turn on L2TP VPN connections, and specify your settings.
- Create your L2TP policy.
- Create a firewall rule to allow inbound VPN traffic.
Create an L2TP connection
-
Go to VPN > Show VPN settings.

-
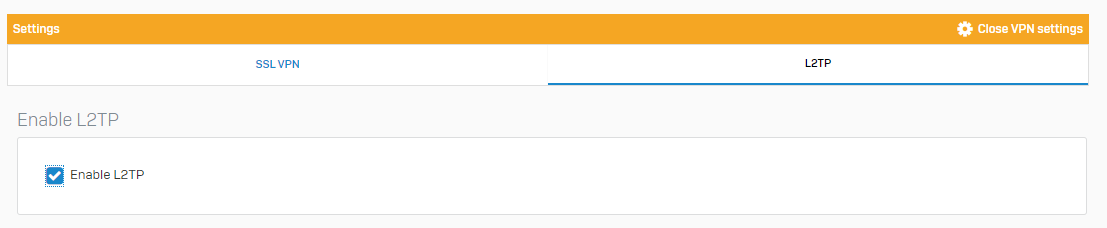
Select the L2TP tab and select Enable L2TP.
-
Specify the general settings:
Name Description Assign IP from Enter the IP address range to lease. Allow leasing IP address from RADIUS server for L2TP, PPTP, and Sophos Connect client This setting is optional.
Select this if you want to lease IP addresses through RADIUS. -
Specify the client information:
Name Description Primary DNS server Select a DNS server from the drop-down list, or specify the DNS server by selecting Other and typing the server's address. Secondary DNS server This setting is optional.
Select a DNS server from the drop-down list, or specify the DNS server by selecting Other and typing the server's address.Primary WINS server This setting is optional.
Enter the IP address of your primary WINS server.Secondary WINS server This setting is optional.
Enter the IP address of your secondary WINS server. -
Click Add members at the bottom of the page.

-
Select your users and groups, then click Add.

-
Click Apply.
The following image shows example settings.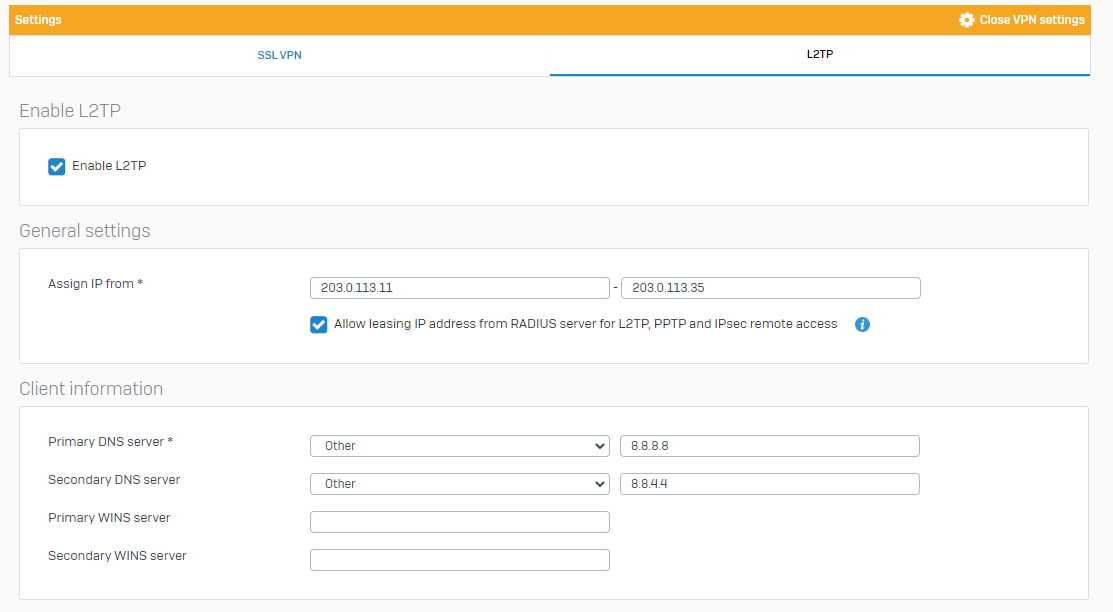
Create an L2TP policy
- Go to VPN > L2TP (remote access) and click Add.
- Enter a name.
-
Specify the general settings:
Name Description Policy IPsec policy to use for the traffic. Gateway type Action to take when the VPN service or the firewall restarts:
Disable: Connection remains inactive until a user activates it.
Respond only: Keeps the connection ready to respond to any incoming request. -
Specify authentication settings.
Name Description Authentication type Authentication to use for the connection.
Preshared key: Authenticates endpoints using the secret known to both endpoints.
Digital certificate: Authenticates endpoints by exchanging certificates (locally-signed or issued by a certificate authority). -
Specify local network details.
Name Description Local WAN port Select a WAN port, which acts as the endpoint for the tunnel. Local ID For preshared key, select an ID type and enter a value. DER ASN1DN (X.509) isn't accepted. -
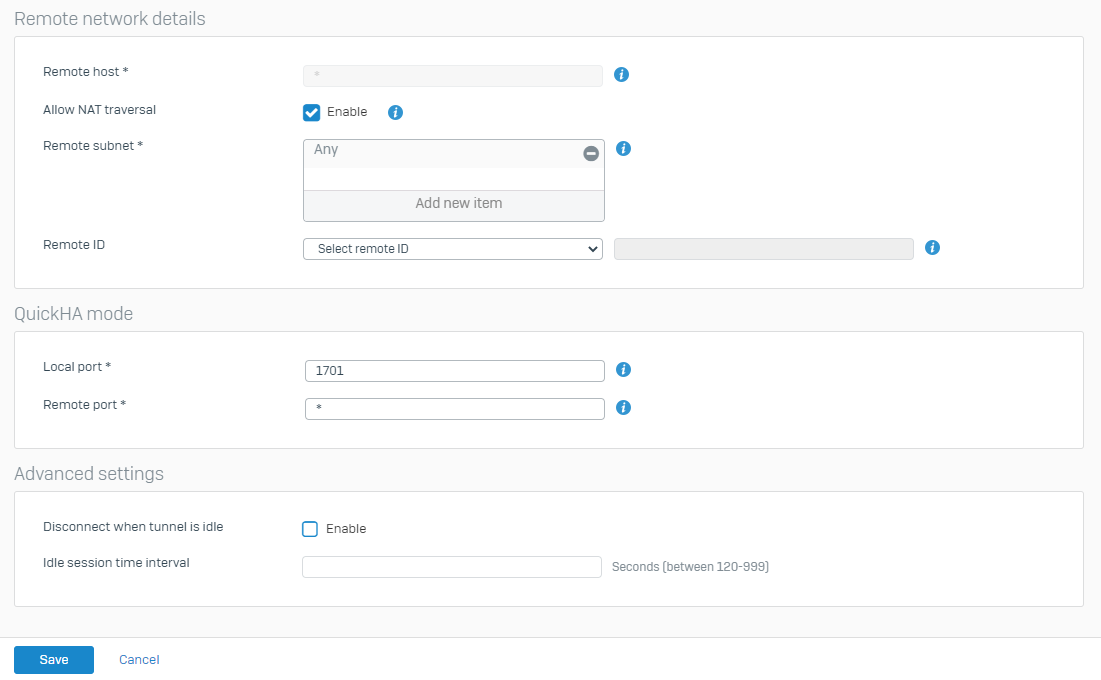
Specify remote network details.
Name Description Remote host IP address or hostname of the remote endpoint.(To specify any IP address, type “*”.) Allow NAT traversal Enable NAT traversal if a NAT device exists between your endpoints, that is, when the remote peer has a private or non-routable IP address. Remote subnet Remote networks to which you want to provide access. Remote ID For preshared key, select an ID type and enter a value. DER ASN1DN (X.509) isn't accepted. -
Specify quick mode selectors.
Name Description Local port Port that the local peer uses for TCP or UDP traffic.(To specify any port, type *.)Remote port Port that the remote peer uses for TCP or UDP traffic.(To specify any port, type *.) -
Specify the advanced settings:
Name Description Disconnect when tunnel is idle Disconnects idle clients from the session after the specified time. Idle session time interval Time, in seconds, after which the firewall disconnects idle clients. -
Click Save.
The following images show example settings.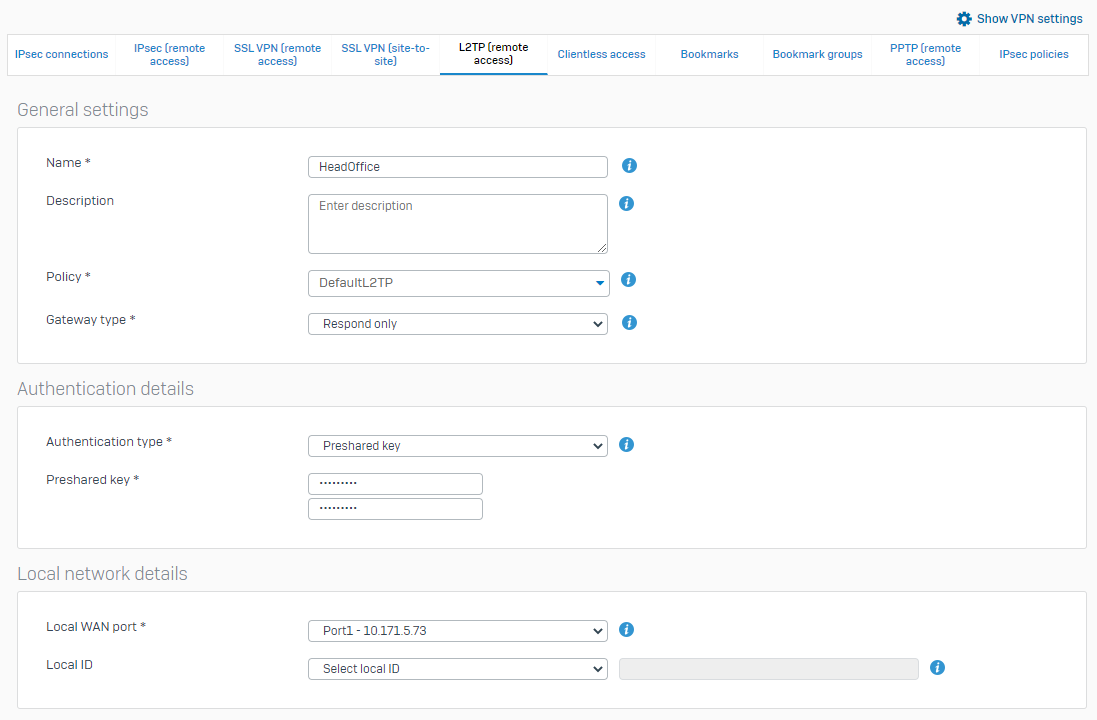
-
Click the red icon under the Active column to start the connection. Once connected, it'll show up as green.
Here's an example: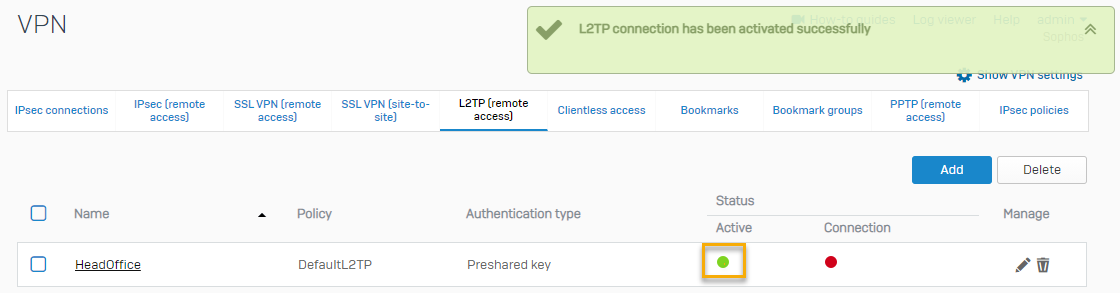
To configure an L2TP connection on Windows 10, see Configure an L2TP connection for Windows 10.
Set route precedence
The default route precedence is static routes, followed by SD-WAN policy routes, then VPN routes. To establish an L2TP connection, VPN routes must come first, followed by static routes and SD-WAN policy routes in any order.
- Sign in to the firewall's CLI.
- Enter
4to select Device Console. - Run
system route_precedence set vpn static sdwan_policyroute. - Run
system route_precedence showto check that VPN routes come first.
Create a firewall rule
- Go to Rules and policies > Firewall rules. Select IPv4 protocol and select Add firewall rule. Select New firewall rule.
-
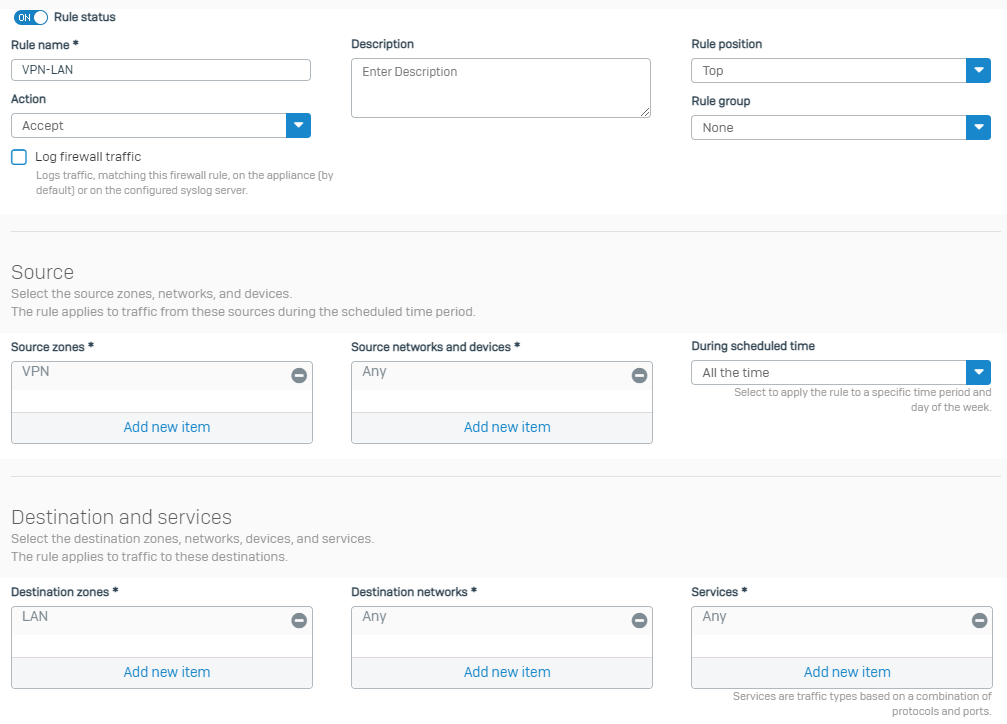
Configure the rule as follows:
Name Description Rule name VPN-LANSource zones VPNSource networks and devices AnyDestination zones LANDestination networks AnyServices AnyHere's an example:
-
Click Save.
To allow the remote host to access the internet through Sophos Firewall, create a firewall rule with VPN as the source zone and WAN as the destination zone.
More resources