Configure an SMS gateway
Warning
The settings on this page are examples from a third-party SMS gateway service provider. We recommend contacting your SMS gateway service provider to ensure you're using the correct settings for your environment.
- Go to Authentication > Guest user settings, scroll to SMS gateway, and click Add.
- Enter a name.
-
Specify the settings.
Option Description URL URL of the SMS gateway for sending an SMS request. HTTP method Method for sending an SMS request to the SMS gateway. Select Get to request data from a specified resource. Select Post to submit data to be processed by a specified resource. Cell number format Use country code with mobile phone number. Number prefix Prefix to use with the mobile phone number. Can include alpha-numeric and ASCII special characters. -
Enter request parameters specified by your service provider.
Here's an example:
If
http://www.example.com/sms.aspx?user=joey&pass=joey123&mbno=9792234567&msg=Testis the request URL, the request parameters must be as follows:Name Value user joey pass joey123 mbno 9792234567 msg Test -
Enter the response format specified by your service provider.
Here's an example:
If
status=302&message=Limit Exceededis the response received, the response format must be as follows:status={0}&message={1} -
Enter the response parameter specified by your service provider.
Here's an example:
If
status={0}&message={1}is the response format, the response parameters must be as follows:Parameter index Name 0 status 1 message -
Click Save.
Click Test connection and type a mobile phone number. If you can connect to the gateway, you will receive an SMS message.
Note
If your SMS gateway accepts only messages of a specific template, make sure that the customized message follows the template. If they don’t match, the test connection won’t work, and the SMS server may reject the message.
Note
To customize the message, go to Administration > Messages.
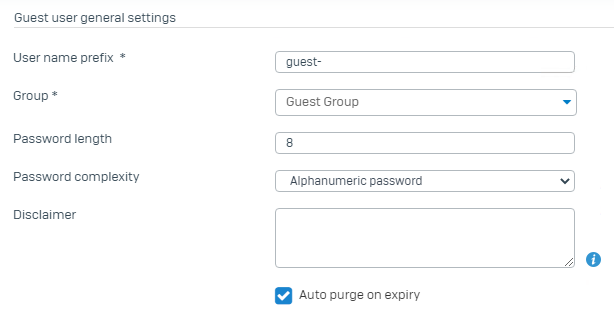
Control password parameters on the firewall
- Go to Authentication > Guest user settings > Guest user general settings.
-
Configure the settings. See Guest user general settings.
-
Click Apply.
Turn on authentication with the newly created SMS gateway
- Go to Authentication > Guest user settings > Guest user registration settings.
- Select Enable guest users registration.
-
Configure the registration settings. See Guest user registration settings
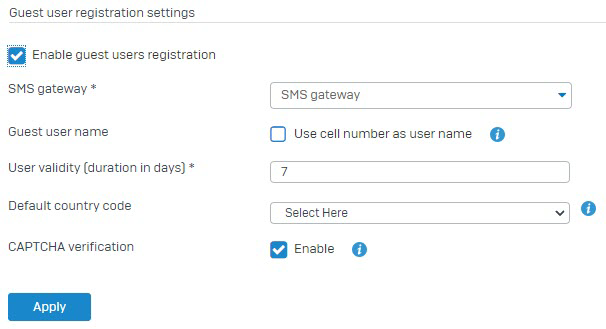
-
Click Apply.
Configure firewall rules
Configure a rule to allow Wi-Fi users access to DNS traffic.
- Go to Rules and policies > Firewall Rules.
- Click Add firewall rule and select New firewall rule.
- Specify the rule name and position.
-
Configure the following settings:
Setting Value Action Accept Source zones WiFi Source networks and devices Any Destination zones WAN Destination networks Any Services DNS -
Click Save.
Configure a rule to apply the user-based policy and redirect unauthenticated users to the captive portal.
- Go to Rules and policies > Firewall Rules.
- Click Add firewall rule and select New firewall rule.
- Specify the rule name and position.
-
Configure the following settings:
Setting Value Action Accept Source zones WiFi Source networks and devices Any Destination zones WAN Destination networks Any Services Any -
Select Match known users.
- Select Show captive portal to unknown users.
- Click Save.
Test scenario
A user connects to the Wi-Fi network.
-
The following page is shown.
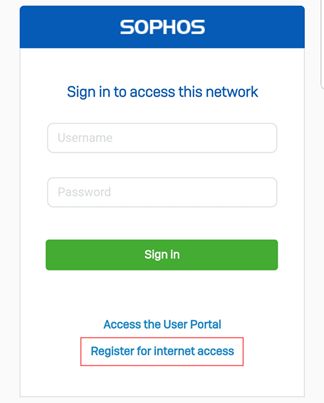
-
Click Register for internet access.
-
Enter the requested information.
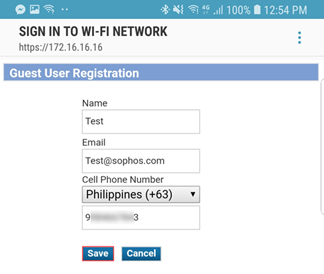
-
Click Save.
-
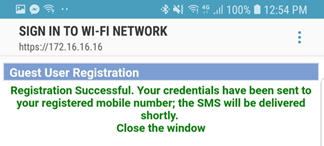
If the registration is successful, the sign-in page is shown.
-
The user will receive an SMS message containing the username and password.

-
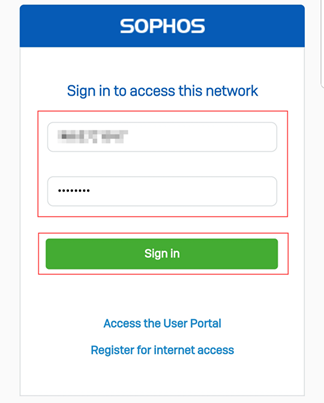
Users can now use the credentials received through SMS to sign in to the Wi-Fi network.
-
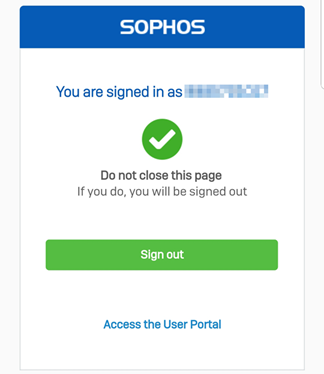
After successful login, the following page is shown.
-
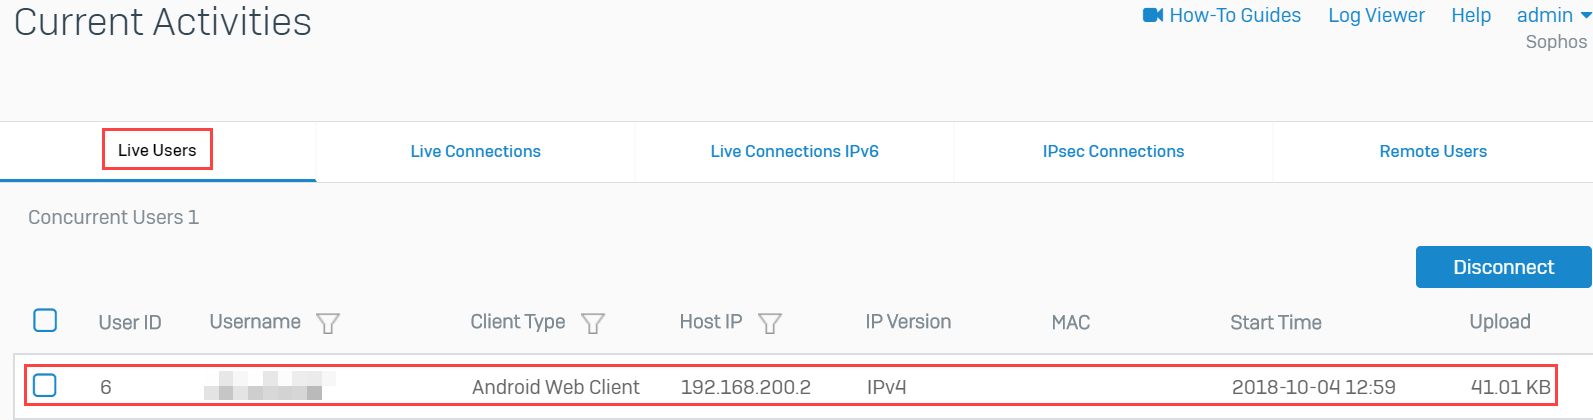
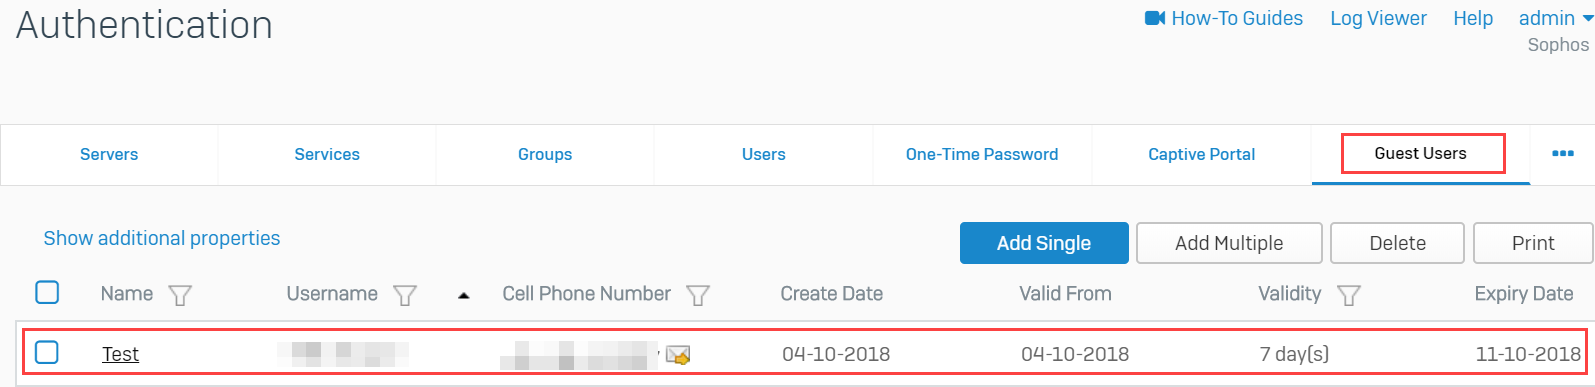
The user appears in the Current activities > Live users and Authentication > Guest users sections of the Sophos Firewall. Reporting data is also available.
More resources