Search
XDR Search lets you find specific data in the Sophos Data Lake.
You can search for indicators of compromise (IOCs) or for other data such as IP addresses or usernames.
Create and run a search
You can create searches in two different ways:
- Create a basic search by using our search builder. This is the default.
- Create an advanced search by using the query language Lucene or free text entry.
For instructions, select the appropriate tab below.
Basic searches are simple to create.
You create a basic search by using our interactive Search Builder.
-
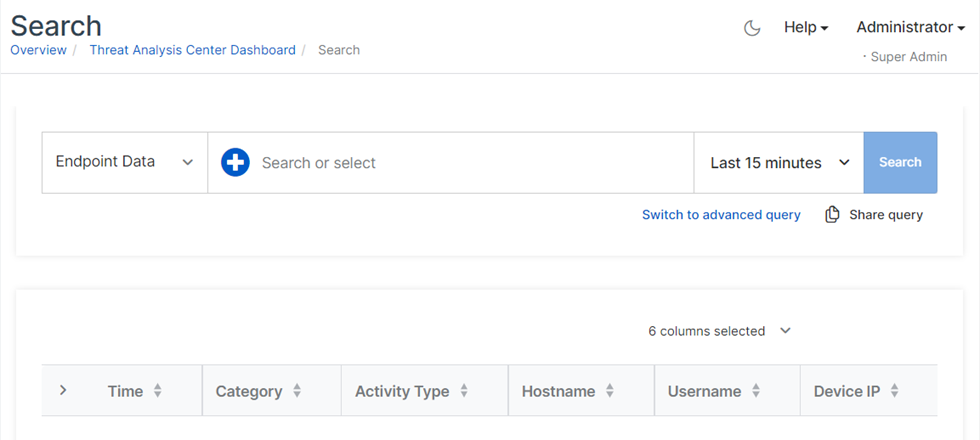
Go to Threat Analysis Center > Search.
-
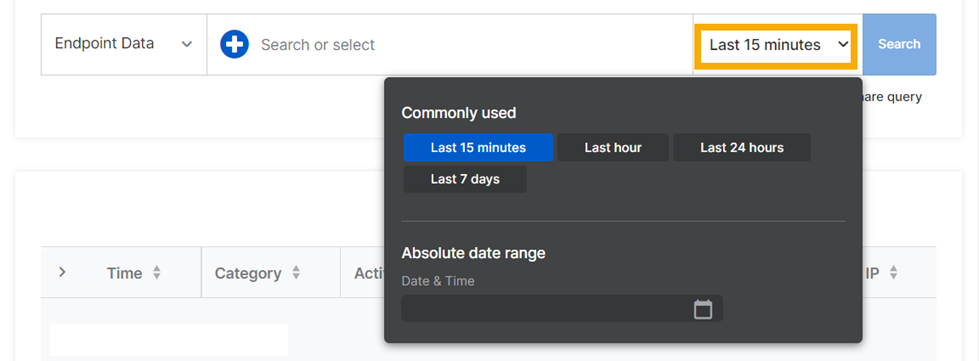
Select a time range for the detections you want to search.
-
Select the data you want to search. Currently, you can only search Endpoint Data.

-
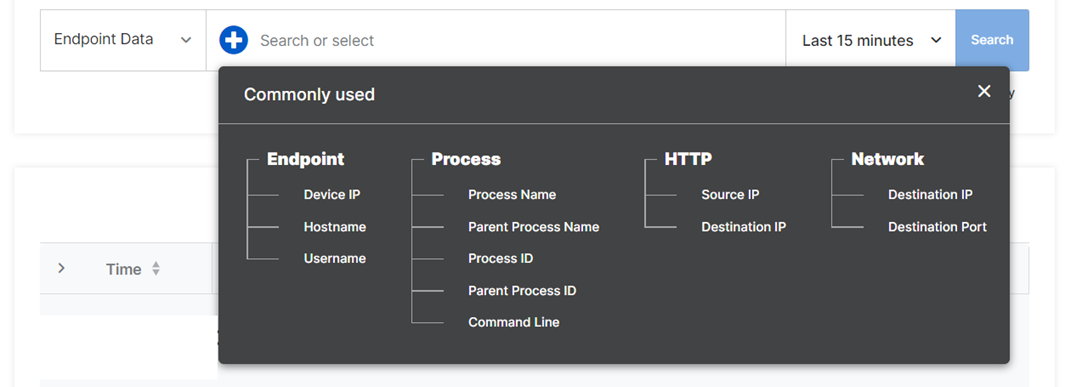
In the search bar, click the Add icon to see commonly used search fields.

-
In the Commonly used dialog, click a field.
-
In Search Builder, use the drop-down menu to add an operator such as
ISorINCLUDES, and enter a value.For example:
Device IP IS 148.139.13.160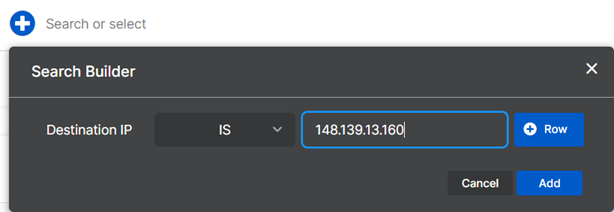
-
Optionally, click Row to select an operator (
AND,OR, orNOT) and add another field. Then click Add.For example:
hostname IS sys1 OR hostname IS sys2 AND protocol IS RDP -
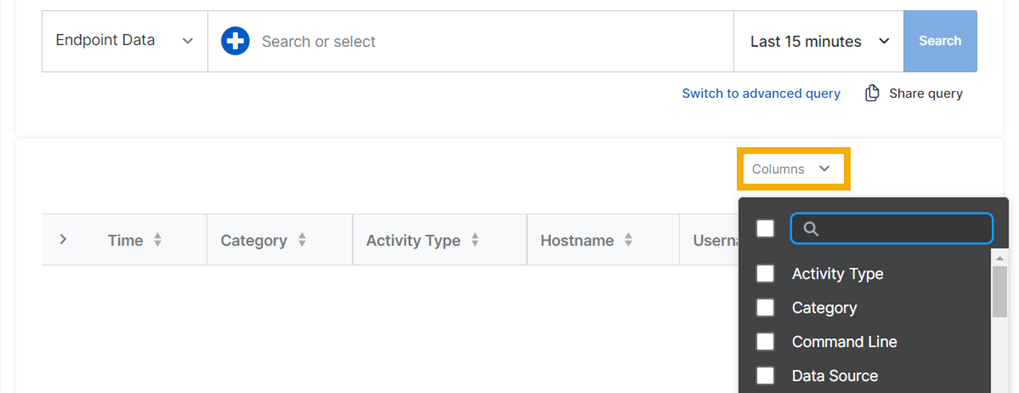
Optionally, select the data fields you want to see in your results. Click Columns and select the fields you want.
-
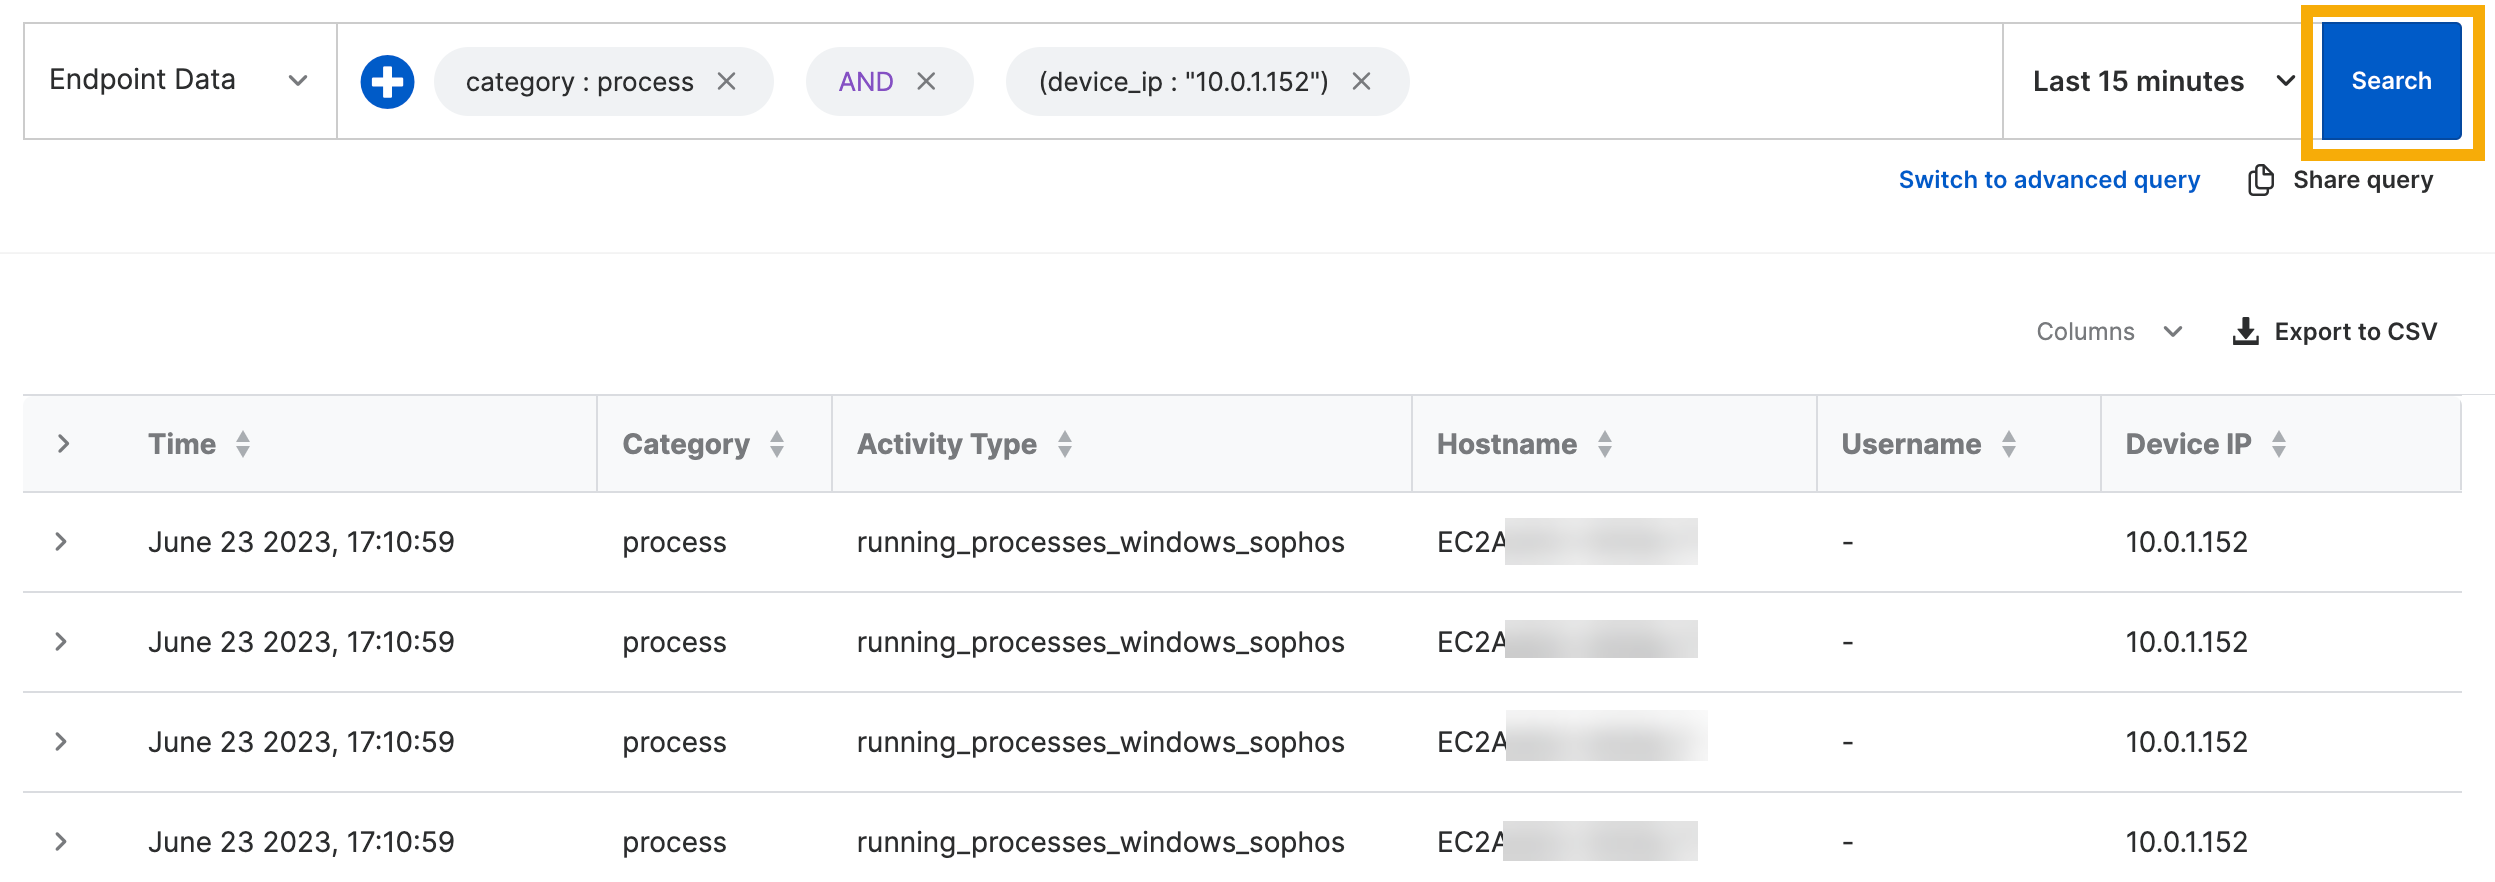
Click Search. You see results in the lower pane.
-
To see the full details of a detection, click the arrow beside it.
Currently, you can't save your searches or take actions on the detections in the results.
You can create an advanced search by using the query language Lucene or by entering your own text.
To create an advanced search, do as follows:
-
Click Switch to advanced query.

-
In the Search bar, enter data fields plus parameters, or free text, as described in the sections below.
- Click Search. You see the results in the lower pane.
Use data fields plus parameters
Enter the data field followed by a colon and then the search parameter. For full details of the data fields you can use, see Data fields for Search.
You can create searches with multiple data fields. Here are some examples:
process_name:lsass AND username:admin OR username:system
sha256:794cf7644115198db451431bca7c89ff9a97550482b1e3f7f13eb7aca6120a11 AND dest_ip:"148.139.13.160"
For help, see Lucene tutorial.
Use free text entry
Enter a string of text to find detections that include the entered text. For strings like MAC addresses or IP addresses, which include special characters, use quotation marks in free text searches.
Here are some examples:
0a43ff3773e7fcbb9a98029957c41bc3af56ae94
jdoe
"00:00:5e:00:53:af"
Configure the results list
You can either accept the default columns shown in results or change and reorder them.
Default columns
By default the following columns are shown in results.
| Column | Details |
|---|---|
| time | - |
| category | For example, "network" |
| activity_type | For example, "open sockets" |
| hostname | - |
| username | Not shown if no user is signed in, for example on a server |
| device_IP | - |
Add or remove columns
You can change and reorder the columns of data shown in the results. To change the columns shown, click Columns and select the columns you want.
Reorder columns
To change the order of columns in the results table, do as follows:
-
Click a column header and drag it to the place you want.

-
When you see arrows above and below the table header, you can drop the column header there.
